Characters:
- Teslan (Paladin)
- Gloom (Wizard)
- Fae’ael (Ranger)
- Belrith (Cleric)
- Ishum (Beastheart)
We begin the adventure and quickly explore, finding nothing. Following the road however we soon find ourselves ambushed by neckers. The Wizard experiences their first combat! Luckily the road takes us almost the entirety of the way we need to go, so getting lost is not an option!
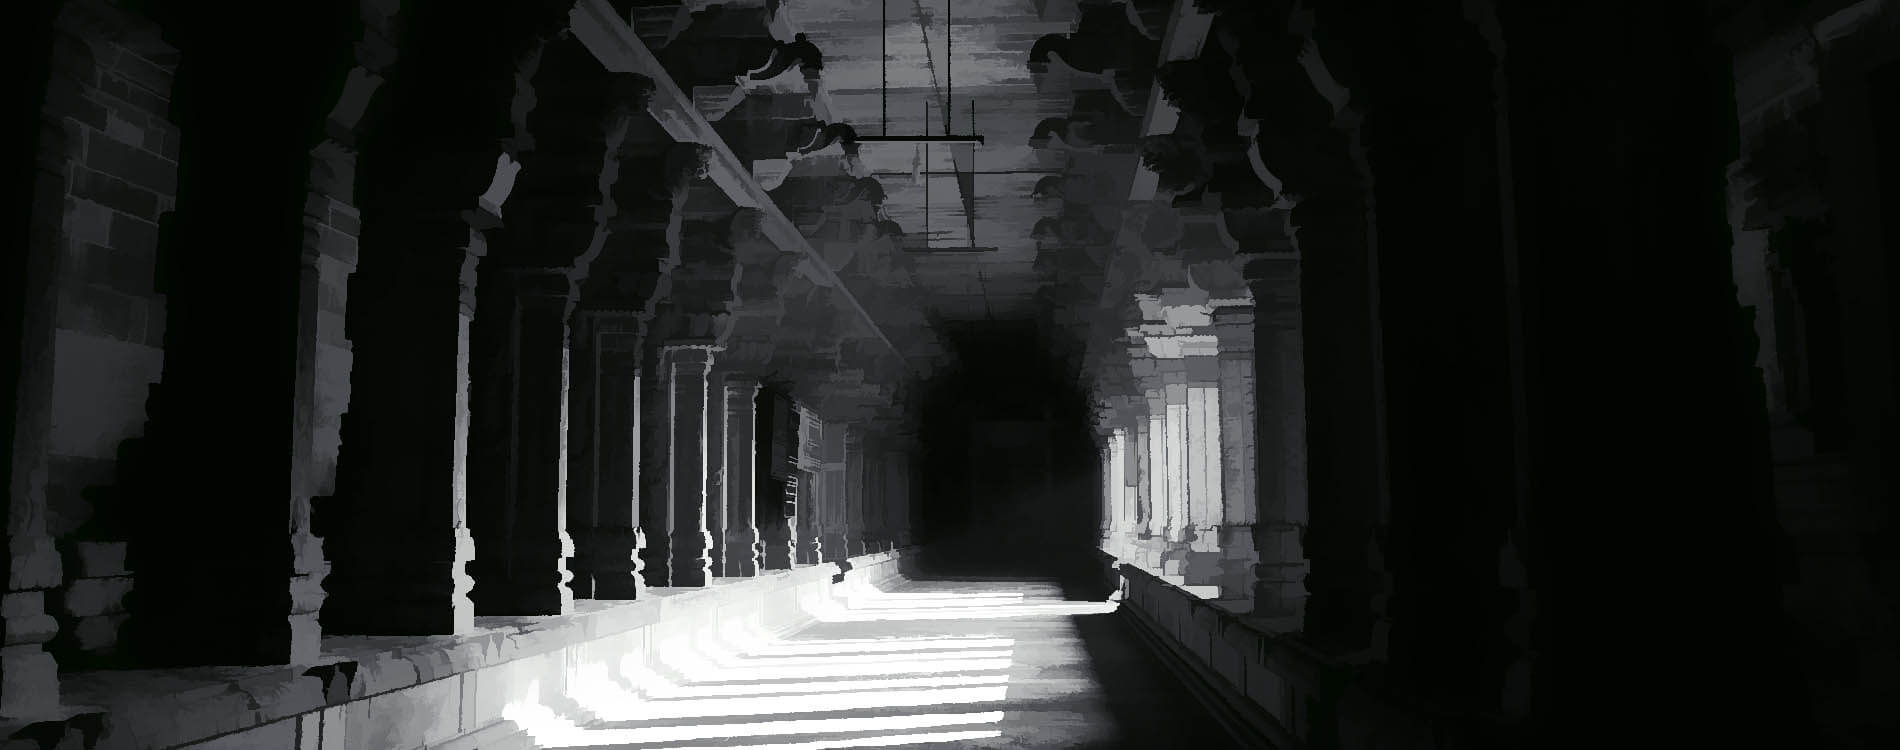
We enter the tomb, and realise that almost everyone on this quest can speak dwarvish, unlike the last tomb delve. The tomb is to Lord Harenkof, and has three directions, two of which are locked, and an anvil with a description to “strike me and reveal your true self”.
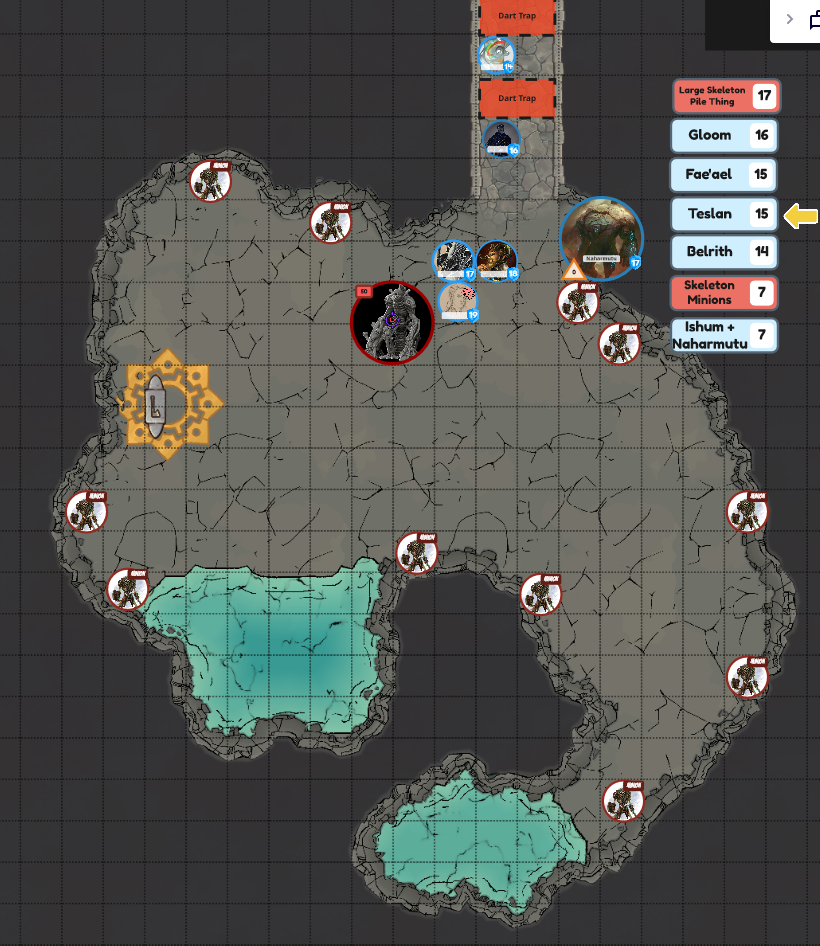
The door to the left is unlocked, and seems safe. Its not. There are SO MANY TRAPS. Pit traps, with dart traps on the other side. Traps after traps after traps. After these traps there is a door heading forward to a tomb like area. It has a Admantine hammer in it, and seems safe so we enter. Thus begins the first tomb combat. Clockwork bugs appear everywhere, and sentient gold piles attack. Whirlwinds of gold hurt, and seem to grow by adding more gold to themselves.
After the fight we think theres something special and behind the wall. Belrith has an idea and rushes back to the start to strike the anvil with the hammer! The wall opens up into a cave area. We all rush in and find the skeletons that should have been in the tomb! And worse Belrith forgets to heal themselves from the last fight. Theres a giant skeleton made of skeletons and some smaller ones. Its a big fights. Many spells, many smites, and TWO uses of turn/destroy undead. We walk away from this victorious and find some treasure and an axe key. Its definitely rest time for the party.
After this small kip we head back to the start room. The axekey opens the middle door and… theres another door behind it, and a pit trap in between them. We decide to go for the other door. It proves tricky to open but Fae’eal is able to pick the lock.
This next area had a puzzle! There are many lanterns, and family portraits, and a sign saying the family lights the way. Gloom works out that we need to match lanterns to the portraits. This starts easy but gets harder. One is ripped but is mended enough to find its match, but then there is one that doesn’t match ANY of the lanterns there. We double check this area and Belrith tries to squeeze past the portrait. It hurts, lots. Finally we go back to the start area and with detect magic up see something is UNDER the pit trap. We try to trigger it but can’t. Finally we give the starting area a good once over and find a fake wall with a hidden ladder behind it. This leads to the spike drop for the pit trap between doors. It has loot, including the key to the difficult door we picked, and an Adamantine lantern that matches the portrait. Using this we finally get through the portrait hall.
At the end of this hall is a large area with corridors going around a central area. There is a large family portrait at the entrance to it. Terrified of traps Belrith gives the area a once over, reaching a level of perception that is almost insurmountable, and notices there is a portal behind the portrait. Inside is another tomb with much loot, and seconds later many enemies. Statues come alves, more gold whirlwinds, and more clockwork ants. Another glorious and successful battle takes place, with much gold found, and another axe key.
We double back to the starting area and put the key in the last lock. Above it is a sign saying the lord likes his privacy. Belrith tries to be polite and makes sure to be attached to a rope held by his friends. When he opens the door both doors snap closed and he ends up dangling above the spike. After being rescued by Naharmantu the party works out the solution to the puzzle. Opening it like an air lock (one door open at a time) we get into the final area finds so much loot. This includes a magic Corpse Slayer Axe, which is extra effective against the undead. We regrab the magic lantern and fully loot the tomb, including the portraits, before hitting the road home again.
Once home we decide to keep the adamantine hammer as it may one day help a blacksmith, and then decide its finally time to refit and repair the goblin keep. Teslan believes they can use it to keep a huge section of area safe, and as such is to be its custodian.